Backgammon Strategy: Blots, Points and Doubling | Playgridia
Backgammon strategy boils down to one thing: knowing the cost of leaving blots, building points to trap your opponent, correctly reading whether you're in a race or contact, and making the right doubling decisions at the moment points are actually won and lost. If you already know how checkers move, we won't repeat the rules — the how to play guide is there. Here, we're going to look at how this platform's own analysis engine scores a move as "correct" or "wrong," because in this engine, "I lost because of the dice" is a testable claim.
Leaving blots: necessary risk, not always an error
A point held by a single checker (a blot) gets hit when the opponent bears down on it, sent to the bar, and must re-enter; a point held by two or more checkers is closed, and no opposing checker can land there. The engine's rule layer enforces this literally: if a point holds exactly one opposing checker, it gets hit and the point clears; two or more checkers and that point is blocked. But in practice, not every blot is an error — leaving a checker to take a point, rescue a back checker, or force your opponent to lag is a calculated risk you're buying. The question to ask isn't "did I leave a blot," but rather "what did I gain in exchange for this blot."
Making points: what the network actually cares about
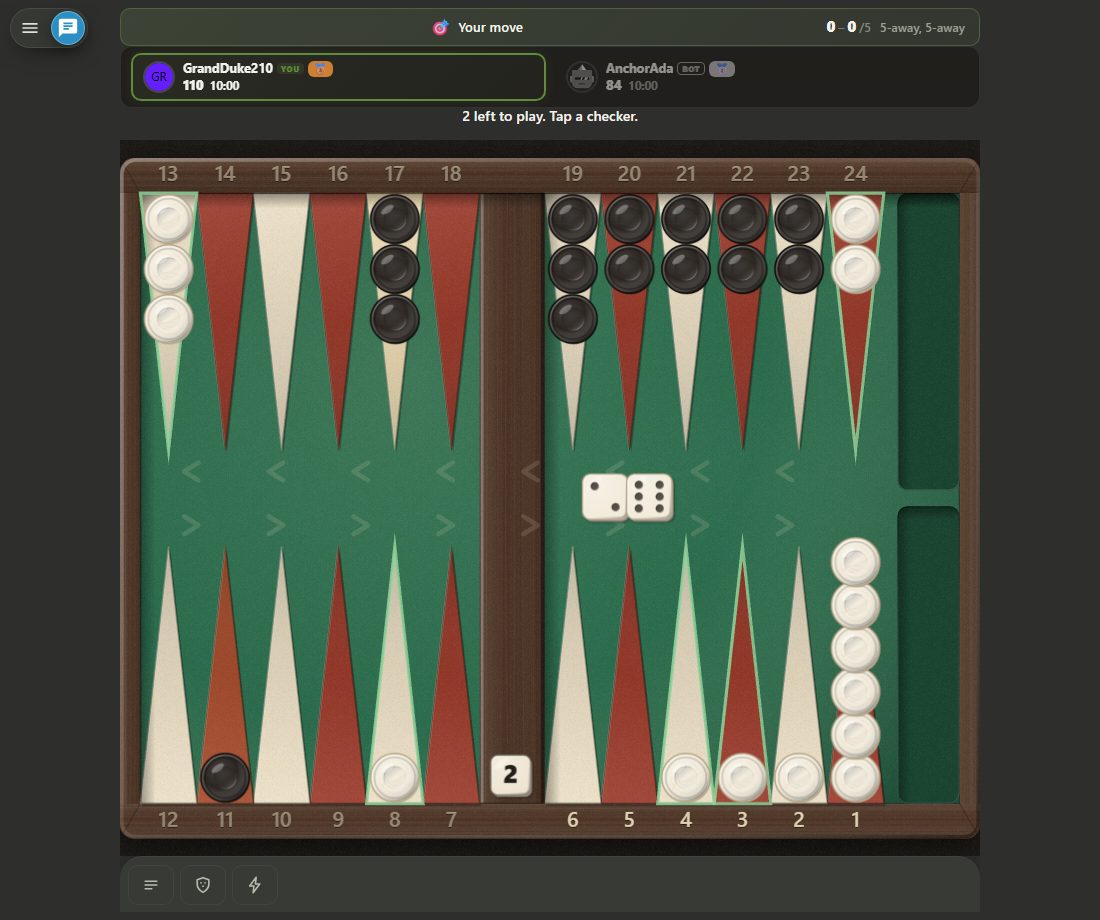
This platform's backgammon bot is a trained neural network, and the clearest way to understand what it learned is to look at how we feed the position to it. Of the network's 200 inputs, 192 of them — nearly all of them — ask the same four questions repeatedly for each of the 24 points: do I have at least one checker here, is this point made (two or more checkers), do I have extra checkers (three or more), and how deep is that stack, meaning how many checkers are buried behind? Twenty-four points × two players × these four units: the vast majority of the network's inputs. The tactical takeaway is direct: make points (hold at least two checkers per point) and don't bury checkers unnecessarily deep. A series of made points creates a barrier that imprisons the opponent's back checkers.
Race or contact: a single flag changes the game
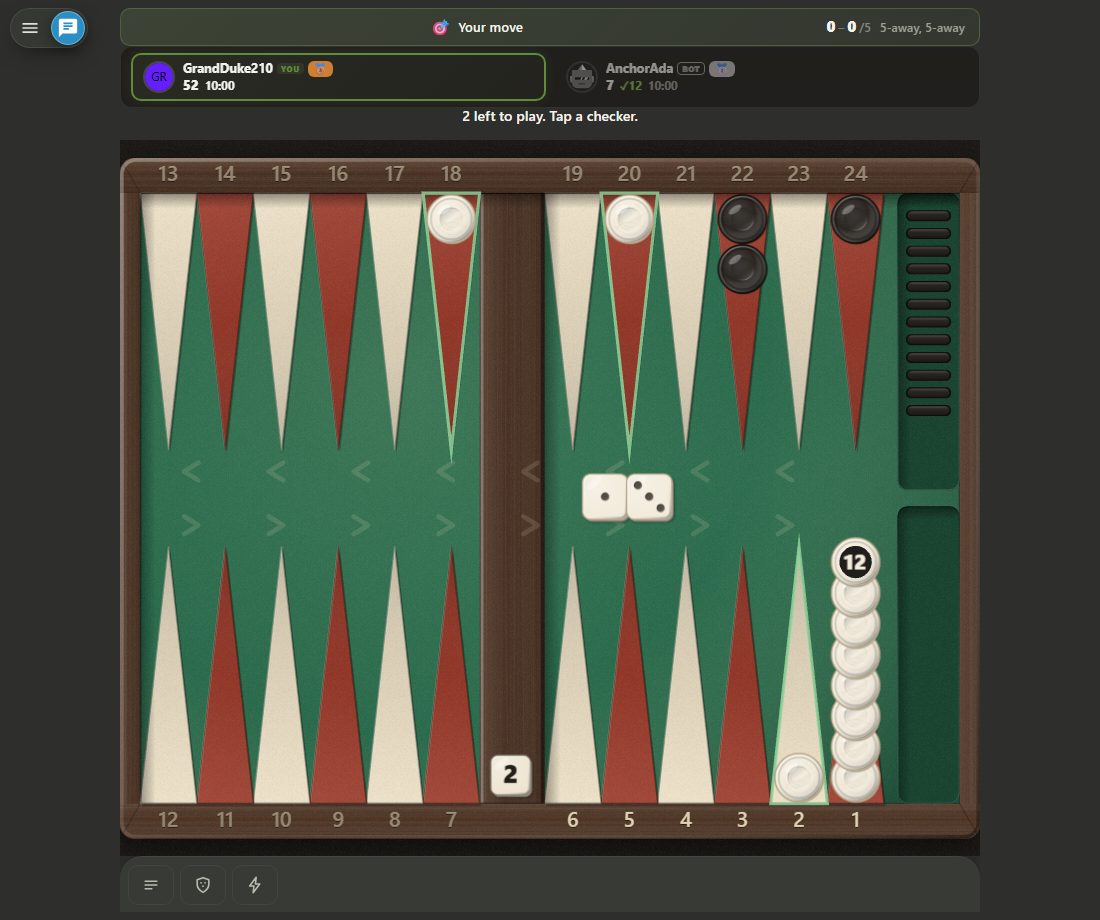
The network's remaining inputs consist of bar and off counts, plus four "race" features: your own pip count, your opponent's pip count, the normalized difference between them, and a contact flag — does the position still contain a hitting opportunity or not. It's no accident that the engine separately tags a position with this single question: while contact lasts, the priority is making points and slowing your opponent down; the moment contact ends, the game becomes a pure race and only one thing matters — is your pip count lower than your opponent's. The live pip count display next to each name on your board is exactly this calculation.
Doubling: where points are truly won and lost
In this engine, a double is not a guess — it's a calculation. Every double/take/pass decision is run through a match-equity table, published based on the away-score, converting it into a match-winning probability — the bot isn't taught a crude rulebook any more than the final review is. Passing the double ends the game at the cube's current value, not the offered value; and on a passed double, the gammon multiplier never activates — you can't gammon a player who has resigned. When the cube is centered or in your opponent's possession, you can turn it before rolling (when it's your turn to roll); but if the cube value already decides the match in the away-score, the engine filters out a turn that cannot change anything. Then there's the Crawford game: when one player reaches the away-score for the first time one point behind the match length, that single game is played with the cube off — nobody can double in the Crawford game.
Reading the score: same board, different match, different decision
The bot is trying to grow match-winning chances, not raw points — and so should you. The same table position might be a double you take at 2-away/2-away but a double you pass at 4-away/1-away, because in both cases the question isn't "do I win this game" but "who wins this match." The match length (1, 3, 5, 7, or 11 points) and the current score turn the same dice and the same checker arrangement into a completely different decision — here is where backgammon strategy diverges from chess strategy, because the winning condition is not a single game but the entire match.
Measuring luck and skill: "I lost because of the dice" is testable
Once the match ends, the game's review page scores each decision separately. Error rate (PR), the performance rating, gives you the equity spent per decision in "normalized equity" units, per mille (thousandths of a point) — so the same scale reads in a money game and any match score. Forced moves, where only one legal play exists, never enter this count; the reason is clear, so that grinding out boring dice rolls can't artificially "improve" your error rate. Luck (variance luck) compares every dice result you rolled to the probability-weighted average of all possible dice that could have come from that exact position — the calculation is made from the position you were in, not from whether you won or lost, which makes the number tamper-proof.
Two review depths exist: fast (instant) and deep (one that rescores candidates, taking a few seconds). The reason deep review exists is simple — the referee cannot be weaker than the player being judged; a shallow referee might mark a move as an error when a deeper search would have preferred it.
| Error Band | Threshold (normalized equity) |
|---|---|
| Blunder | ≥ 0.080 |
| Error | ≥ 0.040 |
| Doubtful | ≥ 0.020 |
| Unflawed | below all |
| Skill Band | Match PR Threshold |
|---|---|
| World-class | ≤ 3.5 |
| Expert | ≤ 6 |
| Advanced | ≤ 9 |
| Intermediate | ≤ 13 |
| Developing | ≤ 18 |
| Amateur | ≤ 26 |
So what do you actually do with this?
When you lose a match, before you blame the dice, open the review: which band is your PR in, how many decisions are above the blunder line, was the luck score genuinely bad or were the guilty parties actually your doubling decisions? If you're separately curious whether the dice themselves are fair, read our are the dice rigged article; the tactics covered here are your real feedback for the next match — better point-making, sharper race-or-contact reading, and stronger double/pass judgment.
Frequently Asked Questions
Is leaving a blot in backgammon always an error?
No. A point held by a single checker can be hit by your opponent and sent to the bar, but that's usually the price of taking a point or advancing a back checker. The real question isn't "did I leave a blot," but "what did I gain in return for this blot."
Why is making points so critical in backgammon?
Of the 200 inputs to the network that drives this platform's bot, 192 are devoted to four repeated questions per point: do I have at least one checker here, is this point made, do I have spares, and how deep is the stack. This proves what the game actually values — making points and not burying checkers needlessly.
Why does the difference between race and contact matter so much?
Four of the network's inputs go directly to this: your pip count, your opponent's pip count, the difference between them, and a flag for whether contact still exists. While contact lasts, you prioritize making points and slowing your opponent; once contact ends, only the pip count matters.
When should I take a double in backgammon and when should I pass?
In this engine, the decision isn't a feel — it's a calculation drawn from a match-equity table based on the away-score. When you pass, the game ends at the cube's current value and the gammon multiplier never applies; when you take, the cube passes to you and you roll next.
What does the Crawford game change in backgammon?
When one player first reaches one point behind the match length, that single game is played with the cube off — nobody can double. This rule activates once per match, one time only.
What do my PR score and luck score really mean in the match review?
PR (error rate) measures the equity lost per decision in thousandths; forced moves don't count, so grinding boring rolls can't artificially improve it. Luck compares each roll you made to the probability-weighted average of all possible rolls from that exact position — calculated from where you were, not from winning or losing, so it can't be gamed.