Backgammon Dice Probabilities: Hit Risk Table | Playgridia
Backgammon dice probabilities — the short answer: rolling two dice together produces 36 equally likely outcomes, and knowing how many of those 36 hit a checker at each distance turns every decision you make at the table from a guess into a calculation.
Why 36?
Two dice are rolled, each with six faces: 6 × 6 = 36 equally likely outcomes. The way to work this out is simple: the first die has 6 possibilities, the second die has 6 possibilities, and since the two are independent, 6×6=36 distinct ordered pairs result. A 3-5 and a 5-3 count as separate outcomes, because which die shows which number matters for the probability count — even though you'd play them identically on the board.
Of these 36 outcomes, 6 are doubles (16.7%), 30 are not. Rolling a double plays the same number four times — which is why doubles also reach distances a single die could never cover. Instead of asking 'how's my luck', this number can be counted, and everything else in backgammon rests on that one fact.
Direct hits, indirect hits
With the points in between left open, how many ways a checker can be hit from a given distance is fixed:
| Distance | Ways to hit (out of 36) | Percentage |
|---|---|---|
| 1 | 11 | 30.6% |
| 2 | 12 | 33.3% |
| 3 | 14 | 38.9% |
| 4 | 15 | 41.7% |
| 5 | 15 | 41.7% |
| 6 | 17 | 47.2% |
| 7 | 6 | 16.7% |
| 8 | 6 | 16.7% |
| 9 | 5 | 13.9% |
| 10 | 3 | 8.3% |
| 11 | 2 | 5.6% |
| 12 | 3 | 8.3% |
| 15 | 1 | 2.8% |
| 16 | 1 | 2.8% |
| 18 | 1 | 2.8% |
| 20 | 1 | 2.8% |
| 24 | 1 | 2.8% |
A direct hit covers distances 1 through 6: a single die is enough, which is why the odds are high, and 6 is the most dangerous distance (17/36) — because a direct 6 lands it, so do 5+1, 4+2 and 3+3, and so does 2-2, where the two is played three times over. An indirect hit is distance 7 and beyond: it needs the sum of both dice, so the odds drop sharply to 6/36. The steepest single drop in the whole table happens right at this line: distance 6 sits at 47.2% while distance 7 falls to 16.7% — one extra step of distance cuts the risk by roughly two-thirds. This gap between direct and indirect is backgammon's most important number.
Two lines run against intuition. Distance 1 (11/36) is safer than distance 2 (12/36), because no double except 1-1 produces a 1. And distance 11 is hit only 2 ways while distance 12 is hit 3 ways, because 12 is produced by 6-6, 4-4, and 3-3. A checker at distance 13, 14, 17, 19, 21, 22, or 23 cannot be hit by any roll in a single turn — there are zero ways.
This table holds when the points in between are open. Every point your opponent closes cancels some of those ways; the real risk is always equal to or lower than the number in the table — the table shows the worst case, and the actual board is never worse than that.
Leaving a blot isn't a mistake, it's a price
The question isn't 'will I get hit', it's 'how many ways can I get hit, and what do I get in return'. Leaving a blot two away from your 5-point carries 12/36 risk; in return you get a shot at making the game's most valuable point next turn. Leaving the same checker six away costs 17/36 and gives you less in return — it's not the size of the risk but what you get for it that decides.
There's only a two-way difference between distance 10 (3/36) and distance 9 (5/36), but that small gap often flips the decision to leave a checker a few points back — at large distances, each extra way weighs proportionally more because the base numbers are so small.
The cost of being hit isn't fixed either. A checker hit in the opening loses a few pips, and running it back from an empty bar takes only a few moves. But a checker hit while your opponent's home board is half-closed can cost whole turns, because while you're stuck on the bar you can't move any of your other checkers.
Entering from the bar: the one real moment of panic
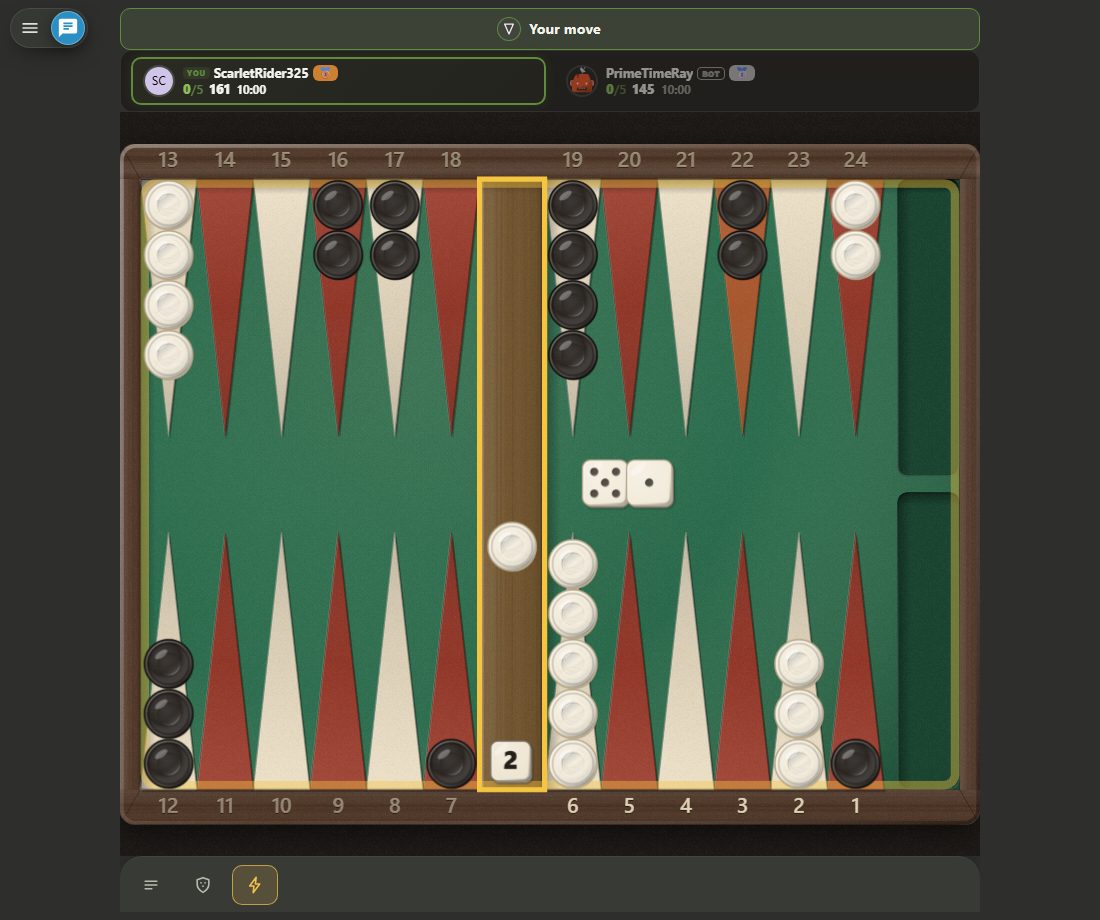
While you have a checker on the bar, you cannot make any other move — that isn't a choice, it's the rule. How many points your opponent has closed in their home board decides your odds of entering:
| Closed points | Rolls that enter (out of 36) | Percentage |
|---|---|---|
| 0 | 36 | 100% |
| 1 | 35 | 97.2% |
| 2 | 32 | 88.9% |
| 3 | 27 | 75.0% |
| 4 | 20 | 55.6% |
| 5 | 11 | 30.6% |
| 6 | 0 | 0% |
With three points closed, your odds of entering are still 75%; with four, 55.6%; with five, 30.6%. The danger doesn't grow slowly — it jumps at the fourth point. If all six points are closed, there's no entry at all: this is called a closed board, and you can't make a single move until your opponent starts bearing off.
Read the other way round: making a point in your opponent's home board is often worth more than advancing your own checker — each new closed point compounds how many turns your opponent can lose stuck on the bar.
The wall: the one structure that zeroes out probability
Six points closed in a row is a wall, and a checker behind it cannot enter on any roll: the highest die is a 6, and all six consecutive points are closed. Even a five-point wall allows only a single number through — in the table, that's the row at 30.6% — which is why the difference between 'five' and 'six' in backgammon isn't a difference in odds, it's a difference in kind.
When you're making the fifth point in your opponent's home board, the real target is the sixth: the fifth point drops your opponent's chance of entering to 30.6%, the sixth takes it to zero.
Measuring luck: 'I lost because of the dice' is a testable claim
Playgridia produces a move-by-move analysis after every match: your error rate and your luck score come out separately. You don't have to guess whether you lost a match to the dice or to a decision — the backgammon strategy tips post covers most of those decisions.
The dice themselves are generated by commit-reveal: the result is locked in before you ever touch the dice, and it can be verified point by point after the match. The full method is in this post.
A longer match shrinks luck's share: match lengths are 1, 3, 5, 7, and 11 points; the default is 5. The same skill gap wins far more often over an 11-point match — before you blame the dice for one lost match, check how long a series you're actually looking at.
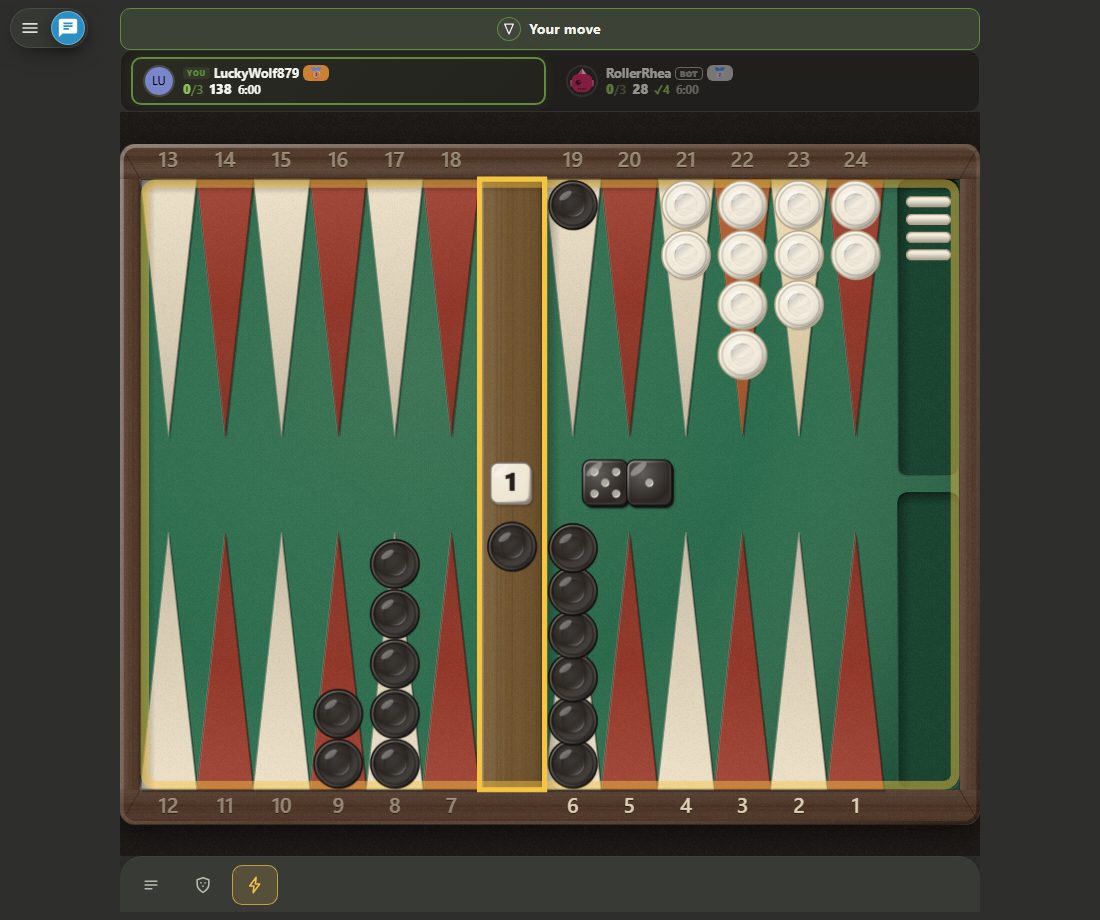
You can start your first match from the backgammon page, and review opening play from the backgammon opening moves post.
Frequently Asked Questions
How many outcomes do two dice have in backgammon?
Rolling two dice together produces 36 equally likely outcomes (6 × 6). Of these, 6 are doubles (16.7%), and rolling a double plays the same number four times. The remaining 30 outcomes are not doubles, and each is played once.
Which distance is easiest to hit a checker at?
A checker at distance 6 is the easiest to hit: 17 of the 36 outcomes (47.2%) hit this distance, because a direct 6 lands it, so do 5+1, 4+2 and 3+3, and so does 2-2, where the two is played three times over. This is the highest percentage in the table.
Why is distance 7 so much safer than distance 6?
Distance 6 can be hit by a single die (a direct hit), while distance 7 requires the sum of at least two dice (an indirect hit). That's why the odds drop from 17/36 (47.2%) to 6/36 (16.7%) — one extra step of distance cuts the risk by roughly two-thirds.
If my opponent has closed four points, what are my odds of entering from the bar?
With four points closed in your opponent's home board, you can enter with 20 of 36 outcomes, or 55.6%. With three points closed it's 75%; with five points it drops to 30.6% — the danger jumps sharply at the fourth point.
What's the probability of rolling a double?
6 of the 36 outcomes are doubles, or 16.7%. When you roll a double, the same number is played four times, which is why doubles can reach distances a single die alone could never cover.
How do I decide without calculating the exact hit risk?
Remember the question isn't 'will I get hit' but 'how many ways can I get hit, and what do I get in return': short distances (1-6) are high risk but direct, distance 7 and beyond is lower risk but indirect. Playgridia's post-match analysis separates which decisions came from luck and which came from error.