Color Match Tips: How to Win More Card Game Hands
Color Match tips come down to three habits: shed your heavy cards first, hold your penalty cards until a rival is close to going out, and count the fuse before you light a Bomb. One hand is largely luck of the draw, but good choices tilt the odds your way over many matches. The first player to empty their hand wins at once, so every tip below helps you shed cards faster or makes a rival draw.
Manage your hand: heavy cards first
Play high-value cards early. Your final score is the points left in all hands combined, minus the points left in yours. A number card is worth its face value, every action card is worth 20 and every Wild is worth 50. When two cards are both legal, play the heavier one first.
Change color with a matching value. A card is legal if it matches the active color or the value of the top card. A number matches the same number in any color, and an action card matches the same action in any color. So a 5 in another color lets you switch the active color to the one you hold most.
Keep one plain Wild in reserve. A Wild is legal whenever no penalty is waiting for you, so it rescues a stuck turn. It is also the safest last card: if you are down to a Wild and no penalty is waiting for you, you can go out on your turn. The hardest bot holds one plain Wild back as color insurance for the same reason.
PLAY or KEEP: what to do with a drawn card
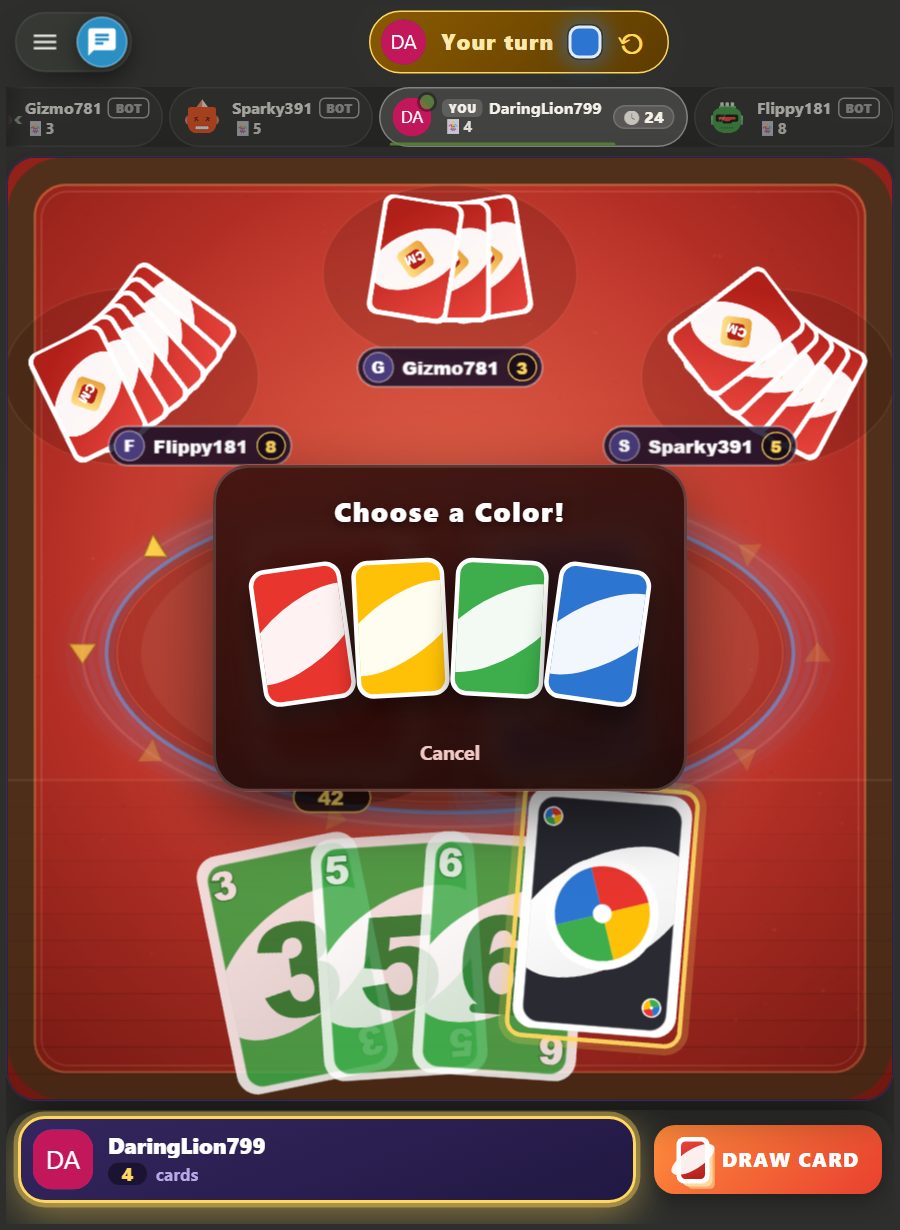
If you have no legal card, press DRAW CARD yourself; nothing draws for you. Outside a penalty you take exactly one card. If it cannot be played, your turn passes. If it can, you choose PLAY or KEEP. Keeping ends your turn without shedding a card, so the default is PLAY.
The exception is a heavy Wild such as a +4 Wild, when no rival is close to going out. The hardest bot does this only with four cards or fewer. Decide quickly: if you do nothing for 6 seconds, the server plays the card for you, and a Wild gets the color you hold most.
Penalty cards on the Classic Table
On the Classic Table only a +2 can answer a +2, in any color, and the pile grows by 2 each time. A +4 Wild cannot be answered at all. The full rules are in can you stack draw cards.
Keep a +2 as protection. If a +2 is thrown at you, your own +2 passes a bigger pile to the next seat. Without one you take the whole pile at once and your turn ends.
Time your +4 Wild. A +4 Wild is legal even when you hold a card of the active color, and nothing answers it. The next seat draws 4 and loses its turn, so it is worth most when that seat is close to going out. The hardest bot throws its strongest attacking card when the next seat holds 2 cards or fewer.
The last card is exempt. Going out wins before the card's effect runs, so a +2 or +4 played as your final card never lands.
The Bomb: count before you light it
The Bomb is the Classic Table's own card. Playing it lights a fuse of 3. The fuse counts hand-offs, the turn passing between seats, never seconds. The hand-off that ends your lighting play is not counted, and a Skip jumps a seat but counts as one hand-off. At zero, whoever has just been handed the turn draws 4 on the spot and still plays that turn. Nothing answers the blast, so counting is your only defense. See special cards explained.
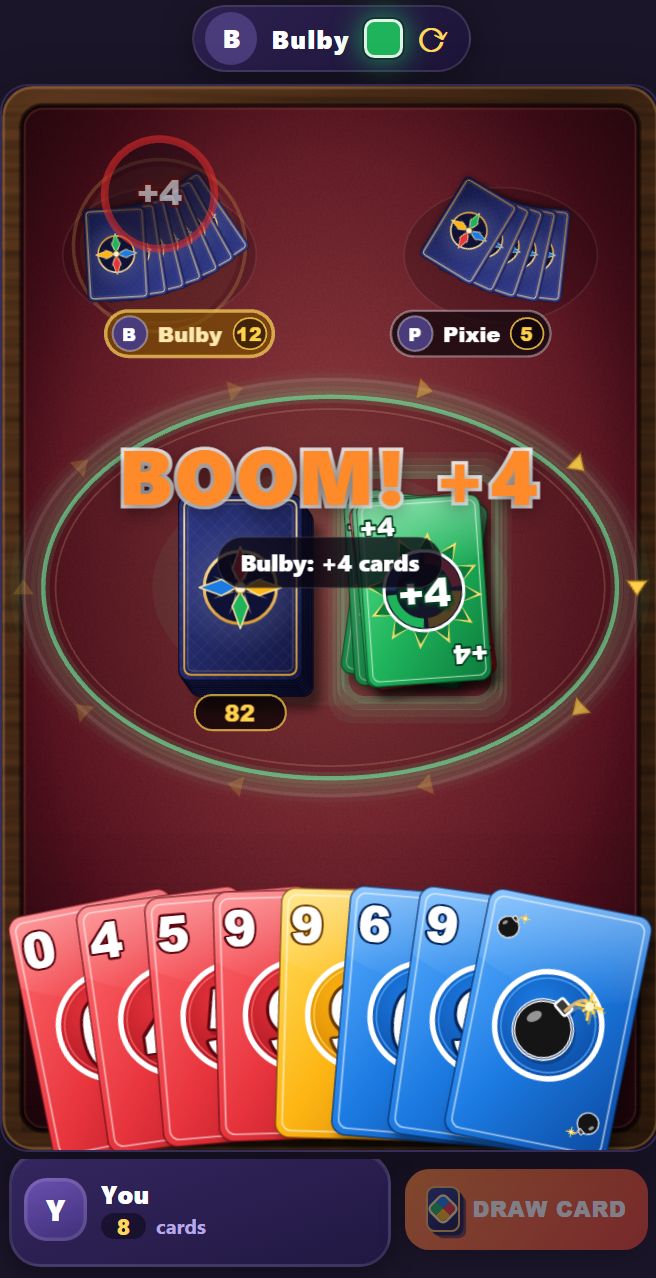
With no Skip or Reverse in the way, the blast lands four places after whoever played the latest Bomb:
| Seats | Who draws the blast |
|---|---|
| 2 | The seat that played the Bomb |
| 3 | The next seat after it |
| 4 | The seat that played the Bomb |
| 5 or 6 | The seat four places after it |
So at 2 or 4 seats, your own Bomb comes back to you unless a Skip or Reverse changes the count. At 2 seats, a Skip counts as one hand-off but gives the turn straight back, which moves the blast onto the other seat. Light a Bomb when the count points at a rival, and hold it when it points at you.
Playing a second Bomb onto a burning one adds +2 to the blast and relights the fuse at 3, counted from your seat. At 3 seats that can send a fuse that was coming round to you on to another seat. At 2 or 4 seats it lands back on you, only bigger.
Read the table
Watch the card counts. Every rival's card count is public, and a ONE CARD! banner appears by itself when a seat is down to one card. There is nothing to call and no penalty for forgetting, so nobody can sneak out unseen. When a rival is at 2 cards and sits next in turn, stop saving penalty cards and use them.
At two players, chain Skip and Reverse. A Skip hands the turn straight back to you, and a Reverse lets you play again, so both shed a card without costing you a turn. More on that match-up in the two-player card game guide.
Tips for Day & Night and Siege
The Classic Table is free for everyone. Day & Night and Siege are premium tables: the host opens one for the room and everyone who joins plays it. The three tables differ in rules, not only in looks.
Day & Night
Read the far sides before a Turnover. You see the far side of every rival's cards, but never the far side of your own. A Turnover swaps every card's face in every hand, so rivals end up holding exactly the faces you could see. Your own far sides stay hidden, so every flip is a small gamble. Flip when their far sides look harmless: plain numbers rather than +5, All Pass or Color Hunt.
Count the Midnight Clock like a fuse. It runs 3 hand-offs and then turns the table over in front of the seat that just got the turn. Playing a second Midnight Clock while one is running stops it, which cancels a flip you do not want. Only the same value answers a +1 or +5, and nothing answers Color Hunt.
Siege
Do not throw a penalty into a standing Shield. It only breaks the Shield, so play another card if one is legal.
Stand your own Shield when you expect a pile. A standing Shield absorbs the next pile handed to you, and you play on as if nothing came. Expect one when you are down to 2 cards, because the hardest bot throws its strongest attacking card at a next seat that low. The cost: it breaks on the first pile whatever else you hold, so you cannot raise that pile onward. Held in hand, a Shield answers any pile in any color. The hardest bot keeps it there until it holds 3 cards or fewer. Siege also lets a +4 answer a +2, but a +2 cannot answer a +4.
Put it into practice
Start on the Classic Table with three habits: heavy cards first, one Wild in reserve, and a count of every fuse. Then read how to play Color Match for the full rules, and play a match.
Frequently Asked Questions
What is the best strategy in Color Match?
Empty your hand before anyone else does. Play your 20-point action cards and high numbers first, keep a single Wild for emergencies, and hold a +4 Wild until a rival is close to going out. On the Classic Table, count the Bomb fuse before you light it. A single hand is still largely luck, but these choices help over many matches.
Should I keep a drawn card or play it?
Usually play it. Playing sheds a card, while keeping passes your turn without doing so. Keep it only if it is a strong card such as a +4 Wild and no rival is close to going out. Choose within 6 seconds, because the server plays the card for you after that.
When should I play a +4 Wild?
On the Classic Table nothing can answer a +4 Wild, so the best moment is when the next seat holds 2 cards or fewer: it draws 4 and loses its turn. On Siege, another +4 or a Shield can answer it. If it is your last card, it simply wins the match and its effect never applies.
Is Color Match luck or skill?
Both. The cards you draw are random, and a single hand is largely luck by design. Skill shows in your choices: which card to shed, which color to name with a Wild, when to hold a penalty card and how you count a fuse. Over many matches those choices add up.
Which color should I pick when I play a Wild?
Pick the color you hold the most of. More of your cards stay legal on your next turn, so you shed faster. The hardest bot chooses the most common color in its own hand.
Do I have to call out my last card?
No. A ONE CARD! banner appears by itself when a seat is down to one card. There is nothing to call and no penalty for forgetting, so you only need to watch the card counts of your rivals.